SiteApex Administration Help & Tutorials
Please use the topic links below to see a list of tutorials for that particular topic or module. Or you can use the search button to search for help on a specific topic.
Note: there are a few non-default modules listed here. Please contact sales if you are interested in any of these modules.
- Getting Started
- Page Editing
- Ad Manager
- Blog Module
- Bulletin Board (BBS)
- Calendar Manager
- File Manager
- Form Builder
- League Module
- Media & Resource Library
- News Letters
- News Manager
- Photo Album
- Staff List
- Shopping Cart
- Directories Module
- Indexed Articles
- Questionnaires
- Job Posting
- Mobile Devices
- Control Panel
- SMTP - Outgoing Mail
- Security & User Groups
- Templates
- Plugins
- SEO
- WCAG / Website Accessibility
How To Add Images to your web page content
Note: before uploading, images should be pre-saved to size, and saved to web-ready format. See more details at end of this section.
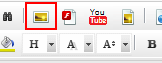 Click the location in the content where you want to insert the image and select IMAGE and a the Image properties box will appear.
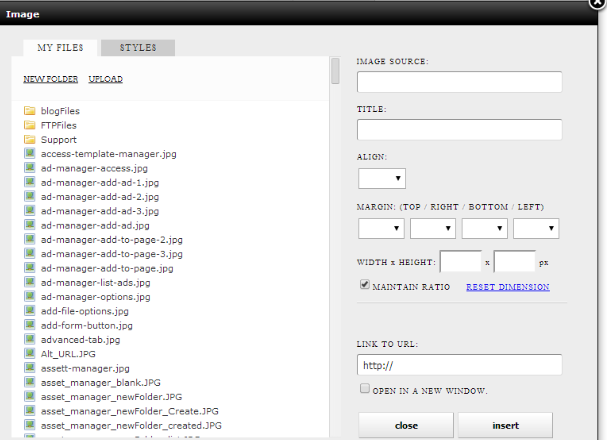
- The menu will display any files that have already been uploaded on the left side (you can preview them by clicking on them).
- For a new image click "Upload" and "Select File" to browse your computers hard drive to add more images.
- When you have selected a file, press [ open ].
- The system will indicate that the file has been uploaded, and will show it in the file list.
- Click on the image you want to insert on the webpage. You can edit the properties of the image on the right side of the Image properties box:
- Title: Adds an "alternate text label when the cursor rolls over the image.
- Alignment: This is to change the images position beside the text. Left or Right side.
- Margin: (TOP / RIGHT / BOTTOM / LEFT): Allows you to put space in pixels around the image.
- You can adjust the Height and Width of an image. Note it keeps the image ratio by default unless "Maintain Ratio" is unchecked. You can also reset to uploaded dimensions if you need too.
- If you need to Hyperlink the image you can now do so right on the Image Property's box.
- When finished click on [ Insert ] or [ Ok ] if you were editing an image again.
The image will now appear in your page layout. You can edit the image again, by selecting the image and "IMAGE from the editing icons.
Tips for Sizing Images
Images should be optimized (saved in web-friendly format) and sized correctly before uploading.
Image Resolution
- Images for the web should be no more than 72 dpi.
Image size
- As a guideline, a photo image of 350 pixels wide should be no more than 25k.
File formats
Standard image file formats for web are:
- .JPG (supports millions of colours, image edges can be fuzzy, mostly used for photos)
- .GIF (used for images with up to 256 colours; can have transparent areas; good for images that required crisp edges ie. logos.)
- .PNG (has some advantages of both the JPG and .GIF file formats but has compatibility issues on some older browsers.
Quick TIPS for Filenames
- No spaces
- Use alphanumeric characters (avoid symbols etc., hyphen and underscore _ are OK)
- Use logical file names that explain what the image is.
Examples
photo 1.jpg: not a good filename because it doesnt describe the contents of the file, and the filename contains a space
redballoon.jpg: is a good filename, as you know exactly what the file contains and the name contains no spaces
red@balloon.jpg: an invalid filename because of the symbol contained in the filename