SiteApex Administration Help & Tutorials
Please use the topic links below to see a list of tutorials for that particular topic or module. Or you can use the search button to search for help on a specific topic.
Note: there are a few non-default modules listed here. Please contact sales if you are interested in any of these modules.
- Getting Started
- Page Editing
- Ad Manager
- Blog Module
- Bulletin Board (BBS)
- Calendar Manager
- File Manager
- Form Builder
- League Module
- Media & Resource Library
- News Letters
- News Manager
- Photo Album
- Staff List
- Shopping Cart
- Directories Module
- Indexed Articles
- Questionnaires
- Job Posting
- Mobile Devices
- Control Panel
- SMTP - Outgoing Mail
- Security & User Groups
- Templates
- Plugins
- SEO
- WCAG / Website Accessibility
Building a Form - General Options
Forms can be used for a variety of purposes. As a result when editing there are many options which make them appear to be more complicated to set up.
Areas of Form Builder.
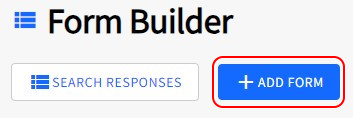
Creating a Form
Click +Add Form to begin creating a form.
General Form Options
Form Name - Give your form a short descriptive name so you will recognize its purpose later. The form name is not displayed on the website.
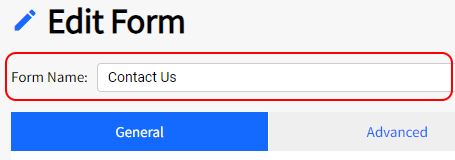
General Tab Options
There are 4 tabs in the form edit screen containing different sets of tools to use on your Form. This article covers the General Tab. The articles that proceed this one explain what options are available on the Advanced, Security and E-commerce tabs.

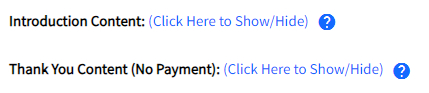
Introduction Content
Allows you to add content above your form. This will display above the form on any page you put the form on. Click on Show/Hide to see the content editor.
We suggest you answer the following potential questions:
- Clarify who should fill out and submit the form.
- Explain what happens to the information they input.
- Offer them a "Privacy Policy”.
- Give them a timeframe of how long it will take to process the form.
- Tell them if they will receive a response and what it will be.
- Explain what they are to do if further action is required.
After a visitor completes your form and submits it, they will automatically be taken to a "Thank You” page. Thank them or give them further instructions if necessary. Click on Show/Hide to see the content editor and add your text or images.
Notify Owner

This option tells the site to send an email when someone completes the form.
Notify Owner Email Address
The person whose email address is entered in the "Notification Email Address" field below is sent the message. Whenever a form is submitted the "owner” will be notified. The "Owner email” does not have to be a system user but anyone.

Note that multiple email address can be entered. Separate each email with a semi-colon. No spaces.
You can also create a field on your form that allows the site visitors to choose who to send the notification email too. Click here for instructions on setting this field up.
Send using verified email (SMTP)
You can customize the email address that the system uses to send any Form builder notifications. You can choose 2 methods.
- Not using SMTP (Set to No) will send the email using our built in emailer. This uses any email address typed in the From Address field. Easy to use but may have higher risk of being marked as spam.

- Choosing Yes will use SMTP to send an email message. This means it will log into a real email address and send the email using a proper send protocol that is more secure and less likely to be seen as suspicious or as spam. You can click "Add" to add a new email address to send from.

You can read more on setting up SMTP emails here.
Reply To
![]()
If you enable the "Email Field" on your form you can use their email as the "Reply-To" in the email sent to the form's owner.
Spam Blocker

Enabled by default the Spam Blocker enables a Capthca code on your form to prevent computer bots from auto filling your form and flooding it with spam. Note this will not stop human spammers from completing your form. If you find you are getting spam still you can enable the "Confirmation" feature under the Advanced tab.
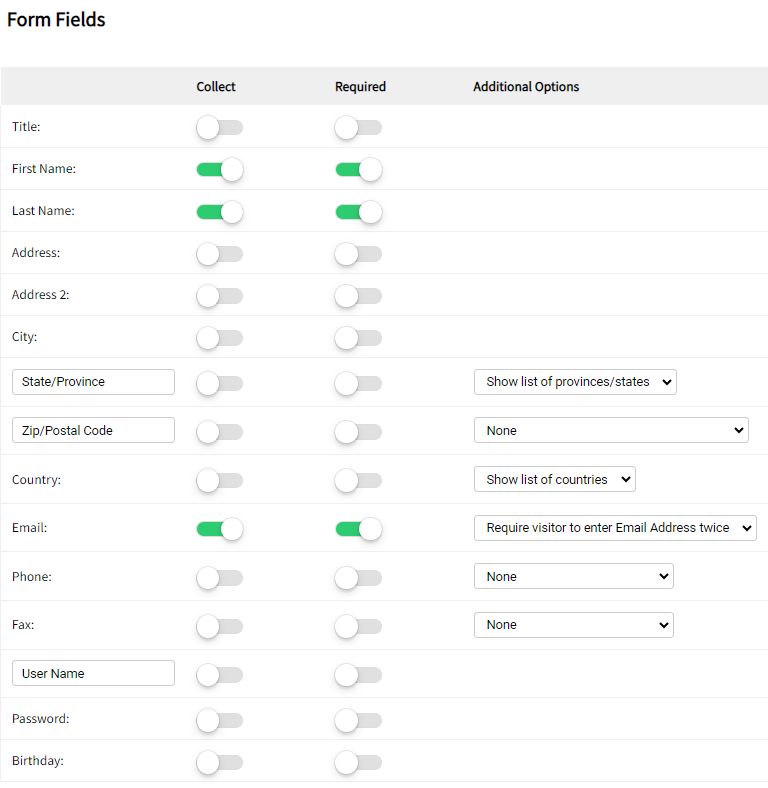
Form Fields
We have included some default form fields you may want to include on your form. Note these fields are used in other areas of SiteApex such as creating a security user or collecting an email for a newsletter so it is recommended to use these fields to collect this information instead of creating your own field for these values.
Note a few fields allow you to change their labels such as the State/Province field, the Zip/Postal Code field and the Username field.
Adding Custom Fields
If you require additional fields on your form, click on the "Create Form and continue to Additional Fields" Button. This will take you to a new screen that allows you to create your own fields. There are a large number of field types so we have created a support article specific to creating custom fields for customizing to your needs.

Click to to go the the next article: Building a Form - Additional Field