SiteApex Administration Help & Tutorials
Please use the topic links below to see a list of tutorials for that particular topic or module. Or you can use the search button to search for help on a specific topic.
Note: there are a few non-default modules listed here. Please contact sales if you are interested in any of these modules.
- Getting Started
- Page Editing
- Ad Manager
- Blog Module
- Bulletin Board (BBS)
- Calendar Manager
- File Manager
- Form Builder
- League Module
- Media & Resource Library
- News Letters
- News Manager
- Photo Album
- Staff List
- Shopping Cart
- Directories Module
- Indexed Articles
- Questionnaires
- Job Posting
- Mobile Devices
- Control Panel
- SMTP - Outgoing Mail
- Security & User Groups
- Templates
- Plugins
- SEO
- WCAG / Website Accessibility
Creating or Managing Ad Campaigns
In order to display Ads on your site a Campaign is required. An Ad Campaign will typically be setup to display on one of your site templates to enhance your design and provide a space to show a hero image or a sequence of ads. For example, your homepage template may use the Ads module to display the large banner image.
Campaign settings determine the size of your Ads and Rotating settings. It is possible to have multiple campaigns of various sizes for different purposes on your site. Used on different areas of the template or you can even use the Ads module on a page as a normal module.
Creating A Campaign
Note, it is likely a campaign has already been setup for your design and you will not be required to create your own. See the how to manage an existing Campaign in the next section.
- If you are not already in the Ads module. Hover on Modules
 in the menu > then click on Ads.
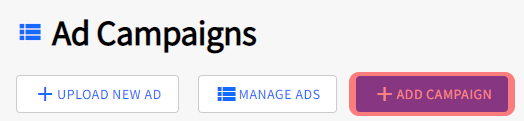
 - Next, click on Add Campaign.
Edit an Ad Campaign
To manage and change settings on an existing campaign:
- Hover on Modules in the menu > then click on Ads.
- By default you will see the list of Campaign. Click Edit to manage the settings of the Campaign.
Important Information about the Campaign Size
The size is very important to the campaign and to the images you will be using for your Ads. Your site likely has a default home page campaign and we recommend not editing the size once set. But for new campaigns decide what the size you want to display (in pixels) as this is the size your ads will need to be or can be cropped to when uploaded.
Ad Campaign Settings Definitions
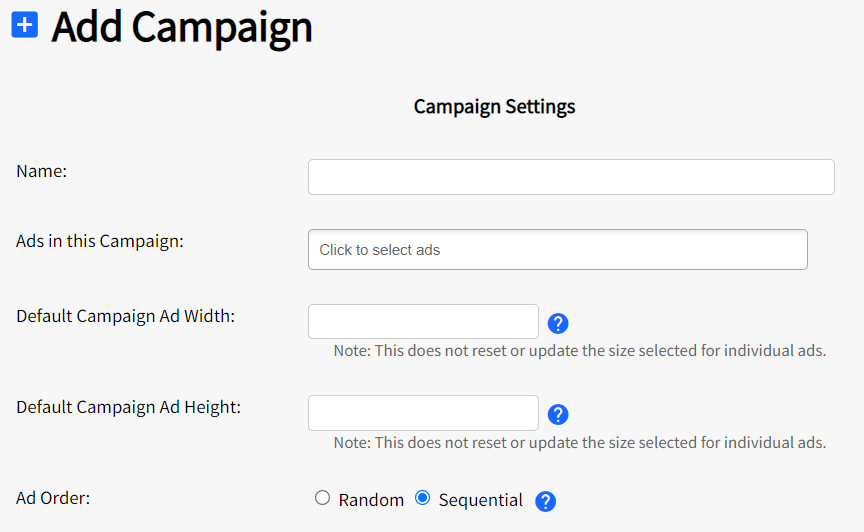
Name - Describe the campaign or just name similar to the page it will be going on for easy reference.
Ads in this Campaign - If you have created ads you can add them to this campaign by using the select box.
Ad Width - Set width of your campaign in pixels.
Ad Height - Set height of your campaign in pixels. Click the blue information icon when setting the width or height for more details on what sizes means. This determines the actual size of your ads. This size is important when creating your images.
Ad Order - Setting to "random", the items will display in a randomized order each time the page is visited or refreshed. If set to "sequential", the items will always display in the same order they appear in your List Ads.
Rotator Settings
We have a few "slideshow" type settings for your campaign. These can be changed any time.
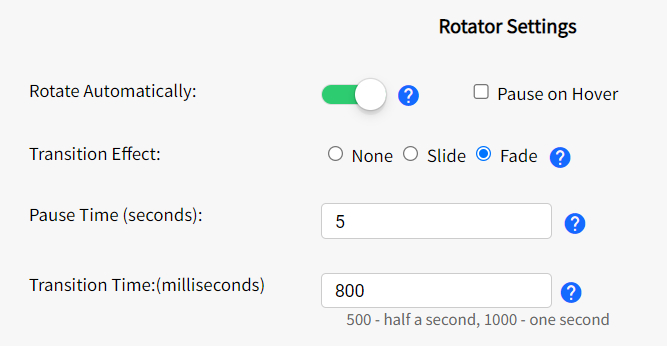
Rotate Automatically - Choose "Yes" if you want your ads to change automatically or "No" if the site visitor will manually change ads using left and right arrows or pagination. Those need to be enabled in the rotator appearance settings below.
Pause on Hover - Check this if you want auto rotation to stop when the site visitor places their mouse on the ad. Rotating resumes when they move it off.
Transition Effect - Changes the animation of the slide transition. Selecting "None" provides no animation, "Slide" moves them Right-to-Left and "Fade" blends the 2 ads when loading the next one.
Pause Time - Decide in seconds how long an ad will display before transitioning to the next ad. This is used when the Rotator Automatically setting is set to "Yes".
Transition Time - Adjusts the time in milliseconds it takes to animate the transitioning between ads.
Rotator Appearance
Although we recommend using your website default campaign appearance settings you can change a few items like if you want next/previous buttons to display on your ads or if you want Ads names or Ad descriptions to show at all, if they exist on your Ads.
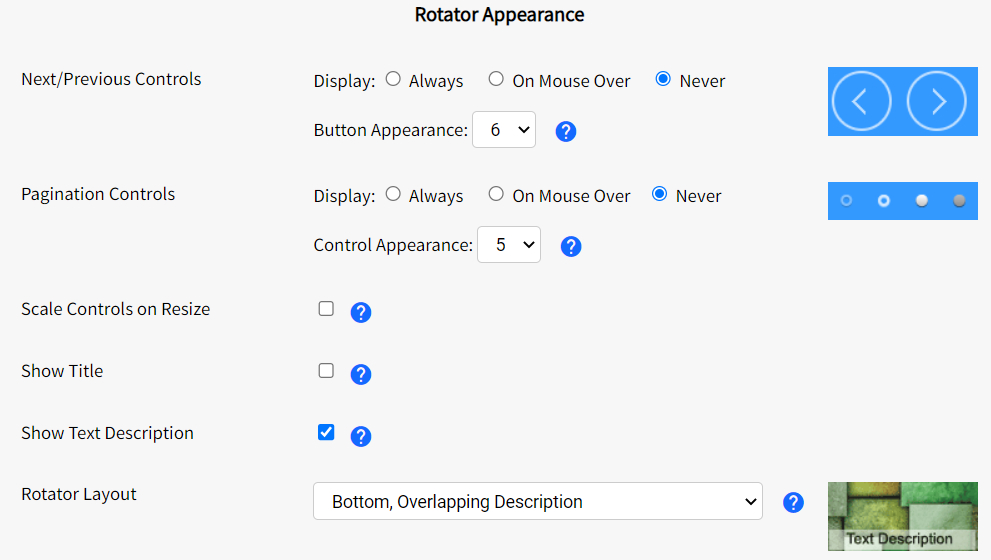
Next/Previous Controls - Choose "Always" if you want the Left and Right control arrows to show on your campaign. This allows the user to manually move between ads forward and back. Select the "Button Appearance" to change the graphic style which previews on the right. You can also have it only show when the mouse is hovering over the ads.
Pagination Controls - Choose "Always" if you want to display icons that represent the amount of ads in your campaign. This allows the user to manually choose ads by clicking on the pagination controls. Select the "Control Appearance" to change the graphic style which previews on the right. You can also have it only show when the mouse is hovering over the ads.
Scale Controls on Resize - If you have a responsive design check this off to allow the control buttons to resize with the campaign. If you do not check this they will stay their original size which may or may not visually block content in your ads.
Show Title - Check this off if your ads have a Name" and you want it to display on the ad itself.
Show Text Description - Check this feature if you want the ads descriptions to show. Only displays if an ad has a description. Edit your Ad to add text.
Click the Submit button ![]() to create or save changes on your campaign. Changes will be made live if you are editing a campaign that is on the live website.
to create or save changes on your campaign. Changes will be made live if you are editing a campaign that is on the live website.
Next Article: Add and Editing Ads in your Campaign