SiteApex Administration Help & Tutorials
Please use the topic links below to see a list of tutorials for that particular topic or module. Or you can use the search button to search for help on a specific topic.
Note: there are a few non-default modules listed here. Please contact sales if you are interested in any of these modules.
- Getting Started
- Page Editing
- Ad Manager
- Blog Module
- Bulletin Board (BBS)
- Calendar Manager
- File Manager
- Form Builder
- League Module
- Media & Resource Library
- News Letters
- News Manager
- Photo Album
- Staff List
- Shopping Cart
- Directories Module
- Indexed Articles
- Questionnaires
- Job Posting
- Mobile Devices
- Control Panel
- SMTP - Outgoing Mail
- Security & User Groups
- Templates
- Plugins
- SEO
- WCAG / Website Accessibility
How To Upload a File and Link To It
Add a file to your page is similar to adding an image. The main difference is that you need to use the hyperlink button in the editor toolbar instead of the image button. If you use the image button, the asset manager will only show images, it'll hide from view any files you've uploaded.
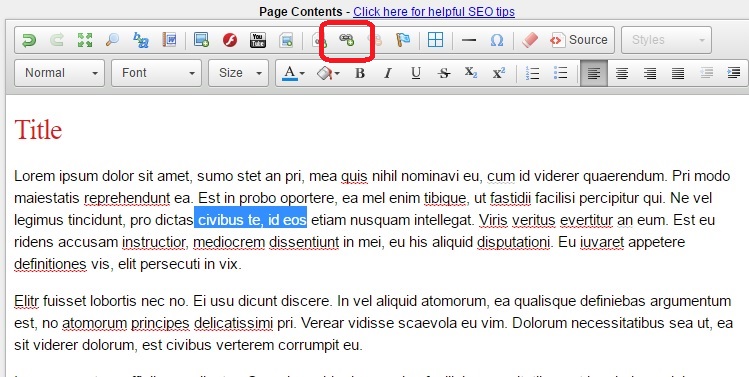
1. Highlight the text or image you want to link to the file (we'll be uploading the file shortly)

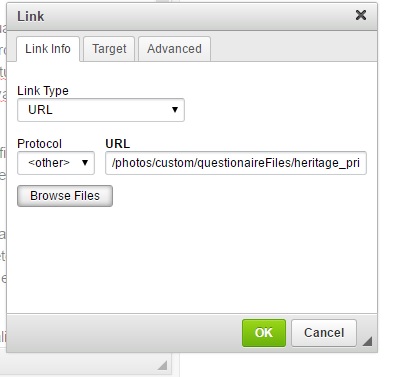
2. Click the hyperlink button
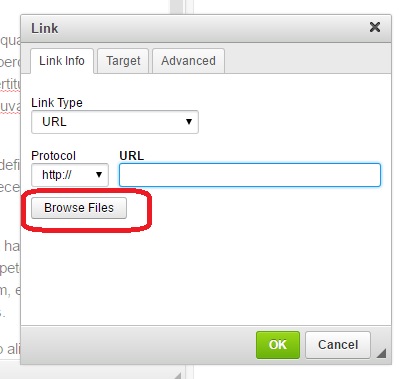
3. A box will pop up, click the 'browse files' button, this will open your asset manager (used to manage all the images and files you've uploaded to your website).
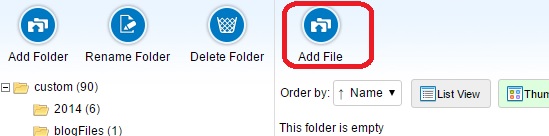
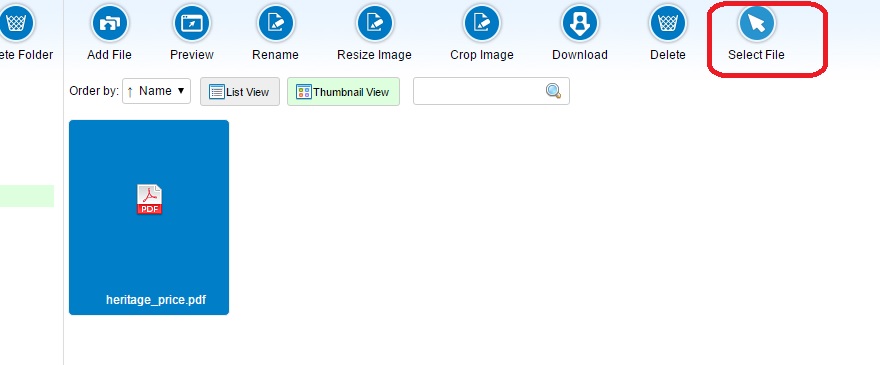
4. In the Asset Manager, click the 'add file' icon
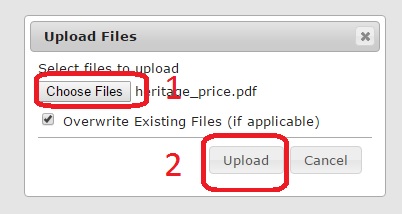
5. Another box will pop up, click 'choose files' and browse your computer for the file you wish to upload. Double click them, then choose 'upload'.
6. You'll end up back at the main asset manager interface, from here, click on the 'select file' icon.
7. You'll now be back to the hyperlink box, where you just need to click ok.
8. That's it, from there, just submit your changes and publish the site and your page will contain a link to open the file you uploaded.