SiteApex Administration Help & Tutorials
Please use the topic links below to see a list of tutorials for that particular topic or module. Or you can use the search button to search for help on a specific topic.
Note: there are a few non-default modules listed here. Please contact sales if you are interested in any of these modules.
- Getting Started
- Page Editing
- Ad Manager
- Blog Module
- Bulletin Board (BBS)
- Calendar Manager
- File Manager
- Form Builder
- League Module
- Media & Resource Library
- News Letters
- News Manager
- Photo Album
- Staff List
- Shopping Cart
- Directories Module
- Indexed Articles
- Questionnaires
- Job Posting
- Mobile Devices
- Control Panel
- SMTP - Outgoing Mail
- Security & User Groups
- Templates
- Plugins
- SEO
- WCAG / Website Accessibility
Form Builder Module Introduction
The Form Builder module is to build forms for your website that allow you to collect information from your site visitors.
Examples Uses of Forms include:
- Contacting you through a page. Either for general communication or to inquire about a product or service
- Newsletter Sign up. Create a form to collect emails intended for a newsletter mailing list. You can use the form to ask consent as well.
- Sign up to Events. Display a Form on an event and it will act as a registration form.
- Simple Payment Form. Create a form to take a payment for a product, event or a donation.
- Creating a User. By enabling the username/password fields and connecting the form to a security group it can create website users for various purposes.
We hope this tutorial will help you start collecting leads and make it easy for your customers to contact you. If you have a need beyond the capabilities we have designed, let us know and we can build custom Forms to suit your needs.
This support article is designed to get you familiar with Form Builder and creating a new form but there are many features and options available in Form Builder covered in further articles.
Form Builder Menu
When clicking on Form Builder in the main menu you will see further areas of this module. The primary areas of the modules are Forms and Search Responses.
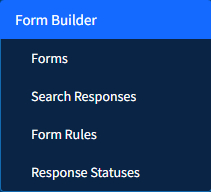
Forms - Lists all forms with options such as: View Responses, Edit, Organize, Preview form, Duplicate Form and Delete.
Search Responses - Allows you to view and search through all form responses. Click here for more details on searching responses.
Form Rules - Create custom rules for Product and Multiple Select fields on your forms.
Responses Status - Create and edit statuses to organize your form responses with your own labels for processing sake. You can then filter your response searchs by status or specific filters.
Creating a Form
To start, you first need to create the form using the Form Builder module.
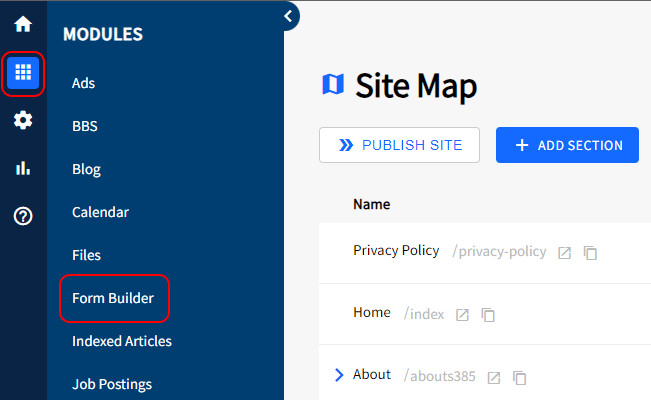
- To do this, go to Modules icon
 > then click on Form Builder in the admin area of your website.
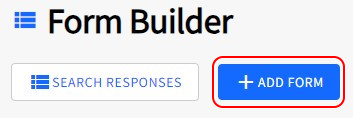
- Click on the +ADD FORM button at the top of your screen.
- On the Add Form screen. At minimum we recommend setting up these options on a Form. Note, we have further articles explaining all areas of the Add/Edit Form screen. This list is the minimum we recommend for creating a form.
Form Name - A short descriptive name you will recognize later. The form name is not displayed on the website.
Thank You Content (No Payment) - Click the view to see the editor where you can add content to display after a visitor completes your form. Such as a quick "Thank you" message and/or any further instructions for the person using the form.
Notify owner when something is submitted - Enable this to allow the form to send out an email to the Form's owner. This email contents the data from each form response submitted to your form.
Notification Email Address - the email address(es) that should receive any Form responses inputted on the website. Separate multiple addresses with a semicolon.
We recommend leaving the defaults Add visitor submitted email as "Reply-to and Enable Spam Blocker enabled.
Form Fields - review the fields you would like to collect and enable that in the Collect column.
Note: Required for any email functionality is the Email field but we also recommend First Name, Last Name. -
Lastly you can either Create Form which saves your progress or Create Form and Continue to Additional Fields which allows you to add your own form fields.