Managing your domains DNS Zone Records
If you are domain is pointing to our nameservers (ns.osmhost.com and ns2.osmhost.com) and is a OSM Hosting Plan, CrossSpot or SiteApex package you can edit your DNS records in cPanel. If you are unsure, you can check if you are using our nameservers using a domain look up tool such as https://www.nslookup.io/.
We recommend caution editing DNS records although adding new records is fairly straight forward. The provider requesting you add a record will generally give you the details required, it's simply filling in the blanks on this end to add it.
How to Access your DNS Zone Record
MyHelpPortal.com Method
The login is typically the primary account holder's email address. You can reset this on the login page.
- Log into https://myhelpportal.com
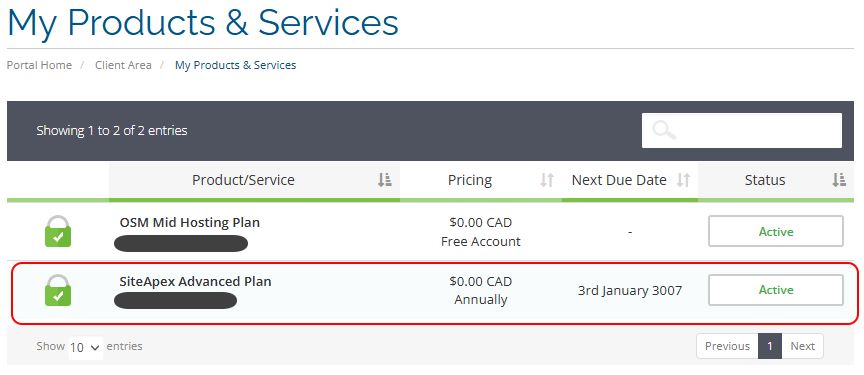
- In the main menu head to Services > My Services.
- Click anywhere on the hosting service row to enter it's management area (don't click on your domain name, it will open the website).
- Use the "Login into cPanel" link on the left menu to open the cPanel control panel.
- Find and click Zone Editor > then Manage on the domain you wish to add/modify the records on.
cPanel Login Method
You can log directly into cPanel with the following addresses: cpanel.yourDomain.com or yourDomain.com/cpanel (Make sure to use your own website address in the URL above.)
How to Add DNS Records
Once you have opened the Zone Editor in cPanel. You can add new records.
- Click on the arrow beside +Add Record to select the type of record you want to add.
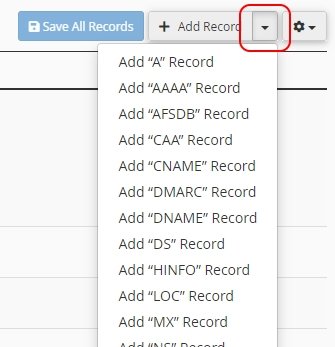
- After choosing your record type you can enter in the name and values.
New A Record

New CNAME Record
 New DMARC Record

- Click Save Record to complete.