SiteApex Administration Help & Tutorials
Please use the topic links below to see a list of tutorials for that particular topic or module. Or you can use the search button to search for help on a specific topic.
Note: there are a few non-default modules listed here. Please contact sales if you are interested in any of these modules.
- Getting Started
- Page Editing
- Ad Manager
- Blog Module
- Bulletin Board (BBS)
- Calendar Manager
- File Manager
- Form Builder
- League Module
- Media & Resource Library
- News Letters
- News Manager
- Photo Album
- Staff List
- Shopping Cart
- Directories Module
- Indexed Articles
- Questionnaires
- Job Posting
- Mobile Devices
- Control Panel
- SMTP - Outgoing Mail
- Security & User Groups
- Templates
- Plugins
- SEO
- WCAG / Website Accessibility
Adding a New Blog Post
Creating a Blog Post
- To add a new Blog Post, open up your website and navigate to the page that your Blog is on. If this Blog Page is not yet live you can add Posts using the SiteApex Admin.
- Look to the right side menu for the login link. Click Login and enter your username and password when prompted.
Note, if you are a full Admin and already logged into the back end of your website, you shouldn't have to login again.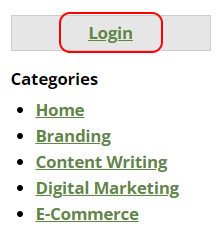
- Once you are logged in, you will see several options on the right of the blog.
Manage Blog allows you to Add and Manage Posts, Manage Categories, Edit some general blog settings, and Edit Profile. Read more about this area here.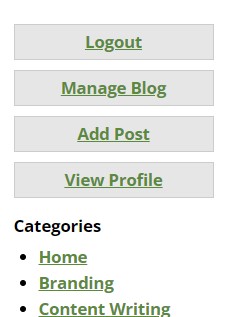
Add Post to create a new Blog post
View Profile to see what your public Blog Profile looks like. - Clicking on Add Post will present you with the Blog post page where you will create your post. See below for explanation for all options.
- Clicking Submit will create the blog and save it in the database. If you have set it to Active it will also display publicly on your Blog page.
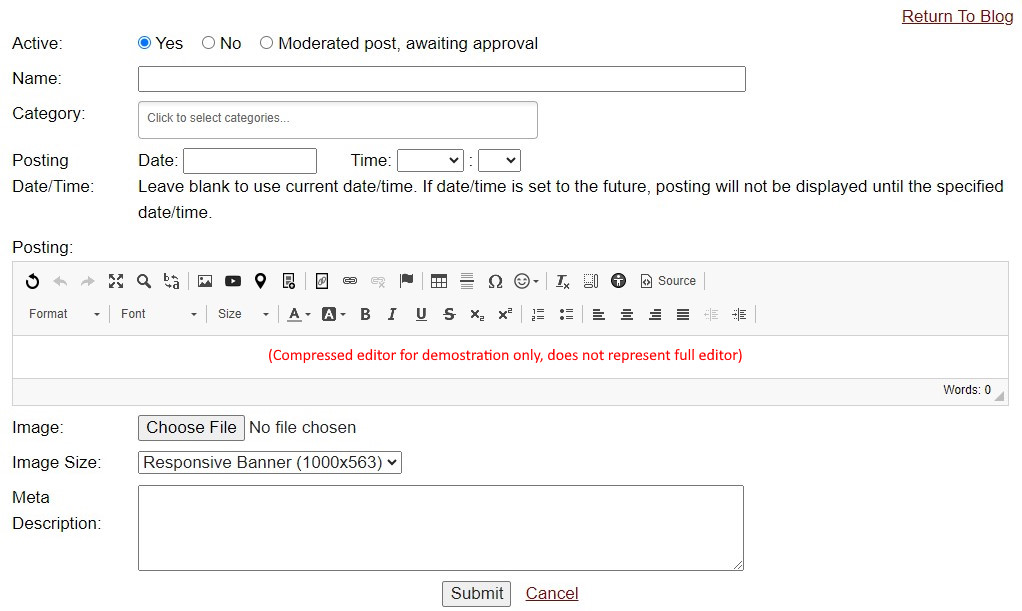
Blog Post Options
Active - This options lets you edit the state of the post.
'Yes' turns on the blog immediately
'No' creates your blog but does not display it on the Blog until marked Active.
'Moderated post, awaiting approval' marks your Post to be approved by a Moderator. This functionality is setup in the Blogs module settings in the SiteApex Admin
Name - This it the main title of your Blog post. This displays on the Blog module so you do not need to repeat your title in the posts content.
Category - If you have created categories in the Administrative area you can assign one to this post. Click in the selection box to view categories.
Posting Date/Time - You can pre-schedule a post to appear on a certain date and time.
Posting - Use the Editor to create your blog content. Refrain from using too many special characters in your blog posts if you have RSS enabled. Read here to learn more about validating your new post.
Image - Include an image above your post. Clicking "Choose File" or "Browse" will open up your computer's file manager.
Image Size - Select a size for your image.
Clicking 'Submit' will save your blog posts based on the settings you have selected. Use 'Cancel' to back out and take you to your Blog Administration screen.
Editing Your Profile
On your Blog page once you are logged in.
- Clicking on Manage Blog
- Edit Profile.
- Within this page you are allowed to change such things as first name, last name, address, etc.
- When you are done with the changes simply click on the "Submit" button on the bottom of the page.